
The corner of a garage, pantry, or craft room can collect a surprising amount of clutter. A rolling shelf gives those supplies a home—and lets you move them out of the way when the floor space matters more.
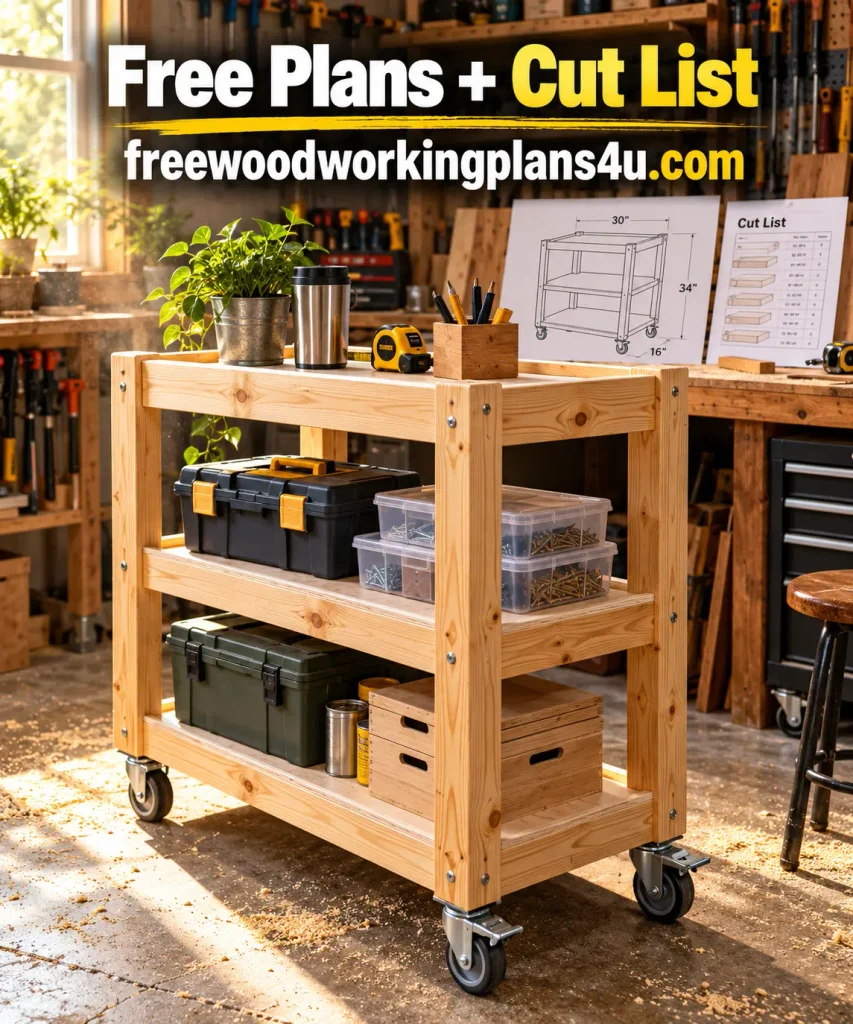
These free woodworking plans show you how to build a three-tier wood storage cart about 36 inches wide, 18 inches deep, and 34 inches high. You’ll find the cut list, materials, tools, and step-by-step instructions below. The finished height assumes casters about 4 inches tall.
Plan at a glance: Build a rectangular base from 2×4 lumber, add four 2×2 corner posts, then fit three plywood shelves between them. The bottom shelf rests on the base; the two upper shelves sit on support cleats. Four swivel casters make the cart easy to move.
Start with the dimensions and shelf layout
The cart measures approximately 36 inches wide × 18 inches deep × 34 inches high. Each plywood shelf measures 32⅞ × 14⅞ inches, leaving a little clearance between the panels and the posts.
The lower shelf rests on the base frame. Cleats support the two upper shelves. With the measurements in this plan, you’ll have about 10 inches of clear space between shelf levels.
Caster height changes the finished cart height. Before cutting the posts, measure each caster from the floor to its mounting plate.
The cut list below uses imperial measurements; metric equivalents are approximate. Choose one measurement system and use it throughout.
Recommended reading: How to Read Woodworking Cut Lists Without Costly Mistakes: Dimensions, Kerf, Grain Direction, and Cutting Order Explained
The free cut list for a 3-tier rolling storage shelf
| Part | Lumber or material | Cut size | Quantity |
|---|---|---|---|
| Long base rails | 2×4 | 36 in | 2 |
| Short base rails | 2×4 | 11 in | 2 |
| Corner posts | 2×2 | 28½ in | 4 |
| Shelf panels | ¾-in plywood | 32⅞ × 14⅞ in | 3 |
| Long upper-shelf frame rails | 1×2 | 32⅞ in | 4 |
| End rails and center supports | 1×2 | 13⅜ in | 6 |
| Upper-shelf support cleats | 1×2 | 3 in | 16 |
Each upper shelf frame uses two long rails, two end rails, and one center support. The cleats provide two support blocks at every corner for each upper shelf.
What to buy
- One 8-foot 2×4
- Two 8-foot 2×2 boards
- Four 8-foot 1×2 boards
- One plywood panel at least 48 × 48 inches, ¾ inch thick
- Four plate-mount swivel casters, about 4 inches high; choose at least two with brakes
- Eight sturdy mending plates, or suitable equivalent, to secure the posts to the base
- Wood glue
- 2½-inch pocket-hole screws for the base frame
- 1¼-inch pocket-hole screws for the upper shelf frames
- 1½-inch screws for the support cleats
- 2-inch screws to fasten the upper shelf frames to the posts
- Caster fasteners recommended by the caster manufacturer
- Paint, stain, or clear finish, if you want one
Nominal lumber sizes differ from the finished dimensions. A 2×4 is typically about 1½ × 3½ inches, a 2×2 about 1½ × 1½ inches, and a 1×2 about ¾ × 1½ inches. Check the boards you buy before cutting.
Gather your tools and work safely
Set out a tape measure, pencil, square, drill and driver, saw, clamps, and sandpaper. A pocket-hole jig makes the frame joints easier to assemble. If you don’t have one, use suitable brackets or another appropriate joinery method.
Wear safety glasses and hearing protection when cutting and drilling. Support the plywood securely, keep your hands clear of the blade, and follow the instructions for your tools and hardware.
Recommended guide: Beginner Woodworking Safety Checklist: 47 Things to Check Before You Make Your First Cut
Build the rolling storage shelf, step by step
1. Cut, label, and prepare the parts
Cut the lumber and plywood to the dimensions in the list. Label each piece as you go: base rails, posts, shelf panels, frame rails, center supports, and cleats.
Before assembling anything, check the shelf panels against the opening between the posts. If your lumber or cuts vary slightly, adjust the panels so they fit without pushing the posts out of square. Sand the cut edges and surfaces while the pieces are still easy to handle.
2. Assemble the base frame
Lay the two 36-inch 2×4 rails flat, with their 3½-inch faces horizontal. Set the two 11-inch rails between them at the ends. The frame should measure about 36 × 18 inches.
Join the corners with pocket-hole screws and glue, or use another suitable method. Check the frame’s diagonals: when they measure the same, the frame is square. Getting this right now makes it easier to keep the finished cart straight and rolling smoothly.
3. Mount the casters
Turn the base frame upside down and position one caster near each corner. Check that each plate fits on the underside and that the wheels can swivel without catching an edge.
Use fasteners suited to the caster plate and the base-rail thickness. The rails are 1½ inches thick when laid flat, so make sure the fasteners won’t protrude through the top. Turn the base upright and check that all four wheels touch the floor.
Choose casters according to the cart’s expected total weight, including its contents. Hamilton Caster recommends adding the equipment’s weight to its maximum load and dividing by three when choosing the minimum capacity for each caster in a four-caster setup, to account for uneven load distribution. That guidance is for selecting casters; it does not establish a safe load rating for a homemade shelf. The wood, joints, fasteners, and caster mounts matter too.
4. Set the posts on the base
Place one 28½-inch 2×2 post at each corner of the base frame, with the outside faces flush with the base. Clamp each post in position and check that it stands square.
Secure the post-to-base joints with sturdy mending plates or equivalent hardware on the outside faces. Use the fasteners specified for the hardware. Install the plates before fitting the lower shelf panel.
5. Fit the bottom shelf
Place one plywood panel on top of the base frame, between the posts. It should rest on the perimeter rails. Adjust the panel if needed so it lies flat without pressing against the posts.
Pre-drill and fasten the panel to the base rails with screws short enough to avoid coming through the underside. This becomes the cart’s lowest storage level.
6. Mark the upper shelf positions
Measure up from the top of the base frame and mark each post at 10¾ inches and 23 inches. These marks show where the top edges of the support cleats will sit.
At each mark, attach two 3-inch cleats to each post: one on each inside face. Use two screws per cleat and pre-drill to help prevent splitting. Keep the cleats level, and check that matching marks are at the same height on all four posts.
7. Build the upper shelf frames
For each frame, set two 32⅞-inch rails parallel to each other. Fit two 13⅜-inch end rails between them, then add one 13⅜-inch center support. The completed frame should measure about 32⅞ × 14⅞ inches.
Join the corners with pocket-hole screws and glue, or use suitable brackets. Secure the center support. Place a plywood panel on top of each frame, pre-drill, and fasten it with short screws.
8. Set the upper shelves in place
Lower each frame between the posts until it rests on the cleats. Check that it sits level and that the posts remain square.
Fasten each frame to the posts with pre-drilled screws through the frame rails and into the posts. The cleats support the shelves; the screws help keep them from shifting.
9. Sand, finish, and check the cart
Sand any rough edges and corners, then remove the dust. Apply paint, stain, or clear finish according to the product instructions. Let it dry completely before loading the shelf.
Lock the caster brakes before loading or unloading. Start with light items, spread the weight across the shelves, and keep heavier things low. Before regular use, check for rocking, loose fasteners, or shelves that have moved out of place.
Make the shelf fit your room
You can change the width or depth, but update the base frame, shelf frames, and plywood panels together so the pieces still fit between the posts. Measure doorways, tight turns, and the storage spot where the cart will live. Include the casters when checking the finished height.
Shelf spacing can change too. Set it to fit the bins, boxes, or tools you plan to store, keep the cleats level, and place a center support beneath each upper panel.
If you make the cart taller or intend to carry heavier items, reassess the materials, joints, casters, and stability. The dimensions here don’t automatically apply to a larger or heavier build.
Questions that come up before the first cut
Could I build this as a beginner?
Yes. The project involves measuring, cutting, drilling, and assembly. A pocket-hole jig can simplify the frame joints, but suitable brackets or another appropriate joinery method can work too.
Which casters should I choose?
Look for casters that fit the base, roll well on your floor, and have a manufacturer-rated capacity suited to the cart and its intended contents. Measure their height before cutting the posts. At least two casters should have brakes; four with brakes give you more control when parking the cart.
Can I make the shelves wider or deeper?
Yes. Revise the base frame, shelf frames, and plywood panels as a set. Measure the clear space between the posts and leave enough room for the shelves to fit without forcing the frame out of square.
How much weight can the finished shelf hold?
This plan does not give the cart a tested working-load rating. Capacity depends on the wood, joinery, fasteners, caster choice, and how the shelf is loaded and moved. A caster’s rating alone is not the capacity rating of the completed cart.
What belongs on the shelves?
Use the cart for items that suit its materials and construction, such as craft supplies, household goods, bins, or lighter workshop items. Keep heavier items on the bottom shelf and avoid loading one side much more than the other.
Products / Tools / Resources
- Lumber and plywood: One 8-foot 2×4, two 8-foot 2×2 boards, four 8-foot 1×2 boards, and a 48 × 48-inch panel of ¾-inch plywood.
- Casters and fasteners: Four plate-mount swivel casters, at least two with brakes; eight sturdy mending plates; and fasteners that match the caster and bracket manufacturers’ requirements.
- Tools: Tape measure, square, saw, drill and driver, clamps, sandpaper, and—if using pocket-hole joinery—a pocket-hole jig.