
The right toy plan makes you want to head for the workshop. The wrong one can leave you halfway through a build, puzzling over a missing dimension or a wheel that won’t turn.
When you compare free woodworking toy plans, start with three questions:
What kind of play do you want the toy to invite?
Which tools can you use confidently?
And does the plan give you enough detail to build it from the first cut to the final inspection?
A strong plan usually includes dimensions, a materials list, diagrams, and clear assembly instructions. Printable templates can help too, especially for curved or repeated shapes.
A small wooden vehicle may look like an easy first project, but wheels, axles, and moving parts add steps. A simple set of blocks may be a better fit if you want to focus on measuring, cutting, and sanding.
Free woodworking toy plans to explore
These examples show the range of free plans and patterns available. Check each publisher’s page before you begin; download links and project details can change.
| Plan | Consider it if you want… | Check before you start |
|---|---|---|
| Stacking and sorting toy plan | A project with a parts list and assembly drawing | It includes several separate pieces. Consider their size and construction before choosing it for a young child. |
| Wooden toy road grader plan | A vehicle build with diagrams and step-by-step instructions | The project uses wheels and dowel axles, so review the tool list and assembly steps first. |
| Free toy motorcycle and helicopter patterns | Printable patterns for small vehicle shapes | Check whether the pattern gives you all the instructions you need, or whether you’ll need to work out some build details yourself. |
| Free woodworking patterns | A collection of toy projects, including vehicles and other shapes | Check the individual project page for its pattern, video, tools, and instructions. |
The CraftsmanSpace page (first link) describes its stacking-and-sorting plan as a simple project using basic hand tools, with a parts list and assembly drawing. The wooden road grader page offers a printable PDF, diagrams, photos, and step-by-step instructions. Forest Street Designs provides PDF and JPG patterns for a toy motorcycle and helicopter.
Choose a toy by the play you imagine
Before you settle on a plan, picture how the finished toy might be used. Would it roll across the floor, invite sorting and arranging, or become part of a child’s pretend world? That image can help narrow a long list of projects to one worth building.
Vehicles bring motion into the build
Cars, trucks, trains, and airplanes can be pushed, carried, lined up, and worked into imaginative play. A simple vehicle might have a solid body and just a few parts. A more elaborate design could use several laminated layers, wheels, axles, or working attachments.
As you compare vehicle plans, look for:
- Drawings that show where wheels and axles go
- Instructions for attaching moving parts
- A clear picture of how the body pieces fit together
- A tool list that matches your experience
A vehicle can make a satisfying project if you’re ready to shape and assemble several parts. For a first build, favor a plan with legible diagrams and uncomplicated assembly.
Blocks and puzzles reward careful measuring
Blocks, shape sorters, and simple puzzles may use straightforward cuts, but repeated pieces need consistent dimensions. A template can help with unusual shapes, while a clear parts list keeps the number of pieces from becoming a guessing game.
Before choosing a plan, check whether it shows:
- The dimensions of each piece
- A template for curved or angled shapes
- How many pieces to make
- The details for any holes, slots, or matching openings
A design with a few clearly specified pieces can be easier to organize. If it includes many small parts, take extra care when considering who will use it.
Pull toys and other moving parts ask for more precision
A toy that rolls or moves has a little more going on beneath the surface. Wheels need to turn as intended. Joints need to hold. Parts shouldn’t come loose during ordinary handling.
Read the whole plan before you start. If a drawing leaves an axle size, clearance, or attachment method unclear, sort it out before cutting. A few minutes with the instructions now can spare you the disappointment of a toy that looks finished but doesn’t work as intended.
Match the plan to your tools and workshop
A plan needs to fit the workshop you actually have. Some toys require only a stable work surface and a few basic tools. Others call for specialized cuts, careful clamping, or more room than you might expect from looking at a finished photo.
Start with the tools listed in the plan
Check which tools the project calls for. The list might include a hand saw, jigsaw, scroll saw, drill, clamps, measuring tools, or sanding equipment. If a tool is described as optional, see whether the instructions explain an alternative.
If you’re unsure about a cut or operation, choose a project that uses tools you already know how to handle. You don’t need to buy a specialized tool just to try one plan; first understand why the project calls for it and whether there’s another suitable method.
Read the cut list and dimensions closely
A cut list should tell you what pieces to prepare and how many you need. Compare it with the diagrams to confirm the instructions agree. If you’re new to woodworking plans, our guide to cut lists and materials lists explains what to look for.
Pay attention to the stated thickness of the wood. Store labels and actual board dimensions can differ, and changing thickness may affect how parts fit. Be especially careful with plans that use axles, holes, or interlocking pieces. Resizing a template can change those relationships.
For projects with narrow cuts or repeated measurements, our saw kerf calculator can help you account for the material removed by the blade.
Plan for the space you have
Think through the whole build, not only the finished toy. Can you clamp the pieces securely? Is there enough room to guide the material through each cut? Will you need to work with long boards or small parts that require a steady setup?
If you’re building a small tool collection, our guide to the cheapest way to start woodworking may help you decide what to buy first. A plan that suits your current tools is often a better first project than one that sends you shopping for equipment you may rarely use.
Check that a free plan is complete before downloading
“Free plan” can mean different things. One page may offer a printable pattern; another may include dimensions, a parts drawing, photos, and a full set of instructions. Take a moment to see what the download really contains before you buy materials.
Look for the details you’ll need at the bench
A useful plan should make it possible to answer practical questions before the build begins:
- What are the finished dimensions?
- Which materials and hardware are required?
- How many parts are there, and what size should each be?
- Which tools does the project need?
- In what order should the parts be assembled?
- Are there diagrams or photos for the more difficult steps?
- Does the plan specify a template scale or printing method?
A pattern can still be useful if it doesn’t include every construction detail. Just be honest with yourself about the gaps: are you comfortable resolving them, or would another plan be a better choice?
Check template scale before cutting
Some plans use full-size patterns that need to print at a particular scale. Follow the publisher’s printing instructions and, if the plan provides a reference line, measure it on the printed page before transferring the shape to wood. An incorrectly resized template can affect the fit of holes, wheels, and connecting parts.
Keep the original file so you can print another copy if needed. If both PDF and image versions are offered, use the one that preserves the dimensions most clearly.
Think through materials, assembly, and finish
Toy plans may call for common boards, plywood, dowels, wheels, glue, or small pieces of hardware. Read the materials list before you start gathering supplies. A project that appears to use scrap wood may still depend on a specific thickness, straight grain, or material for its moving parts.
Choose wood that suits the design
Follow the plan’s material specifications when you can. If you substitute another type of wood, think about whether its thickness, weight, or workability might affect the fit or durability of the toy.
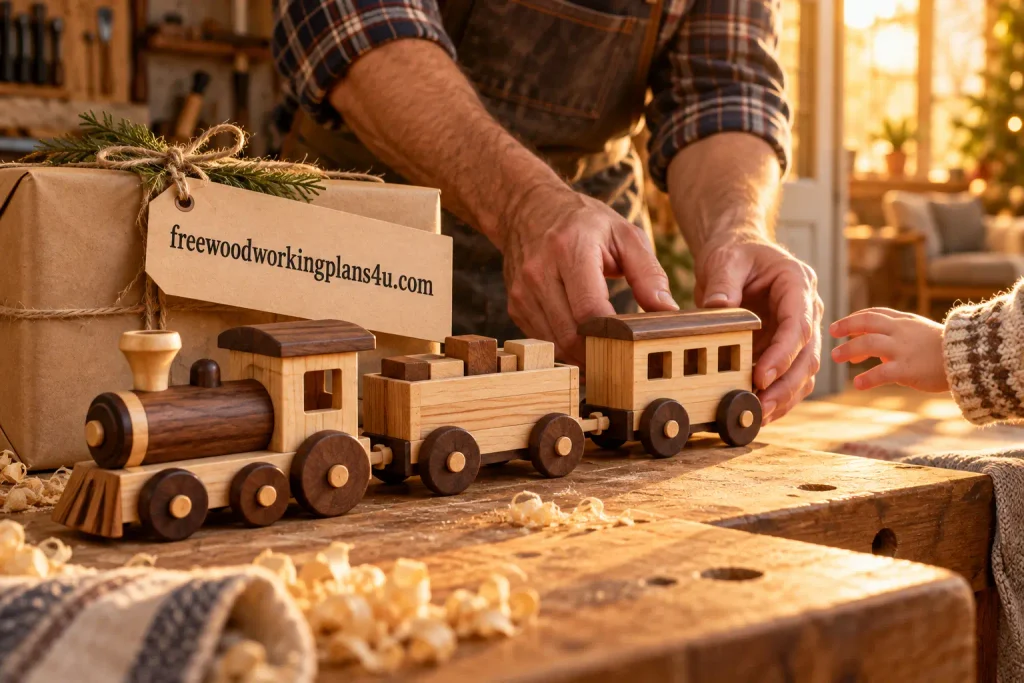
Be cautious with reclaimed wood if you don’t know what coatings or substances it may have been exposed to. And when a design depends on a part fitting precisely—such as an axle passing through a hole—avoid changing dimensions without checking the effect on the rest of the build.
Test the assembly before you commit
When the instructions allow it, dry-fit the pieces before gluing. It’s easier to catch a reversed part, misaligned hole, or poor fit before the glue sets. Labeling similar pieces can help keep them straight through assembly.
If the toy has moving parts, check their motion before the final assembly step when the plan permits. Follow the instructions, and look for anything loose or misaligned before calling the project done.
Choose a finish with the toy’s use in mind
Some builders prefer the natural look of wood; others want to paint or seal the finished toy. There isn’t one finish that suits every project or intended use. Read the product label, follow its instructions, and allow the stated time for drying and curing before the toy is handled.
Our guide to woodworking finishing supplies can help you compare common finishing materials.
Review toy safety before it is used
A woodworking plan is not a safety certification. Before a child uses a finished toy, inspect it for splinters, sharp edges, weak joints, loose pieces, and moving parts that could pinch or detach. Check it again if it is handled roughly.
Small parts deserve particular attention when a toy may be used by a child under three. In the United States, CPSC guidance covers small-parts requirements for certain children’s products, along with rules related to toy materials and coatings. Requirements depend on the product and where it is made or sold; following a plan alone does not establish compliance. Check current official guidance for your location, particularly if you intend to sell toys.
From plan to finished toy: a steady build sequence
- Choose the kind of play. Decide whether you want to make a vehicle, puzzle, blocks, or another toy.
- Check tools and materials. Confirm the plan fits your skills, workspace, and supplies.
- Read every step. Look for missing dimensions, unclear instructions, or tools you don’t have.
- Print and verify templates. Check the scale before transferring a pattern to wood.
- Prepare and label the parts. Use the cut list to organize the pieces before assembly.
- Build in the order shown. Dry-fit when appropriate and follow the plan’s assembly instructions.
- Sand, finish, and inspect. Smooth the surfaces, follow finish instructions, and check the toy before it is used.
Questions you may have before choosing a plan
What’s a good first woodworking toy to make?
Look for a plan with few parts, clear diagrams, and tools you already know how to use. A small vehicle or simple set of shapes might be approachable, but the instructions and required cuts matter more than the project name.
Do free woodworking toy plans include printable templates?
Some do. Others provide diagrams or dimensions without full-size patterns. Check the download description and printing instructions first. When exact shapes or hole locations matter, a template can make the work easier.
Can I make a wooden toy from scrap wood?
Sometimes. Check that each piece of scrap is large enough and the correct thickness for the plan. Avoid wood with unknown coatings or contamination, and don’t substitute material if the change could affect the fit of moving parts.
Should I paint a wooden toy or leave it unfinished?
That depends on the design, intended use, and finishing product. Follow the product’s instructions and check that it is suitable for the application. Let the finish dry and cure as directed before the toy is handled.
How can I tell if a free plan is reliable?
Look for consistent dimensions, a complete materials list, clear diagrams, and an assembly sequence that accounts for every part. If essential details are missing, choose another plan or make sure you can confidently resolve the gaps before cutting.
Recommended guide: How to Read Woodworking Plans: A Beginner’s Guide to Symbols, Cut Lists and Diagrams
Products / Tools / Resources
Tools to consider
- Measuring and marking: pencil, tape measure, and combination square
- Cutting: the hand saw, jigsaw, or scroll saw specified by your chosen plan
- Drilling and assembly: drill and bits, clamps, and any listed hardware
- Shaping and surface prep: wood file, sanding block, and sandpaper
You don’t need every tool on this list. Start with the requirements of the plan you’ve chosen.
Materials and supplies
- Wood in the dimensions and type specified by the plan
- Dowels, wheels, glue, and hardware when listed
- A suitable finish, if the project calls for one
Free plan resources