
The machine question usually gets real when a cabinet plan becomes a stack of plywood, a cut list, and a corner of the garage that suddenly feels too small. Then the catalogs start: cabinet saws, sliding table saws, CNC routers, line borers, edgebanders. It can look as if every cabinet needs a factory behind it.
It doesn’t. The right woodworking machines for cabinet making depend on three things: what you’re building, what material you’re using, and how often you’ll repeat the same operations. A home builder needs a safe, accurate route through the work. A small shop needs fewer delays and more consistency. A production shop needs stations that keep a whole line moving.
Quick answer: For occasional cabinets, begin with an accurate way to break down sheet goods, a router, a drill or drill press, clamps, a sander, and effective dust extraction. A table saw or track-saw setup can handle much of the panel work. Add a jointer and thickness planer if you prepare rough solid lumber. Sliding table saws, CNC routers, line borers, edgebanders, and wide-belt sanders are later choices when repeat work earns them a place.
At a glance: a machine setup for each shop
| Shop and workload | Useful starting setup | Machines to consider later |
|---|---|---|
| Home shop, occasional cabinets | Track saw or properly supported table saw, router, drill/driver, clamps, sander, dust extraction | Jointer, planer, line borer, CNC router, edgebander |
| Small shop, recurring custom work | Accurate panel-cutting station, table saw or sliding table saw, router table, drill press or repeatable boring setup, dust collector | CNC router, edgebander, wide-belt sander, dedicated door machinery |
| Production shop, repeated batches | Panel saw or nesting CNC, boring and edge-processing equipment, dust extraction, material handling and assembly stations | Additional automated stations chosen to relieve a measured bottleneck |
This is a starting map, not a shopping list. Someone who buys surfaced lumber and orders finished doors may need far fewer machines than someone who mills hardwood and makes every component in-house.
Table of contents
- 1. Begin with the cabinet, not the catalog
- 2. What each shop size really needs
- 3. Follow the work from raw material to cabinet box
- 4. Match the machine to the operation
- 5. Add machines when a real bottleneck appears
- 6. Make room for the whole machine system
- 7. Safe machines make better work possible
- 8. Buying mistakes that are easy to avoid
- 9. Questions cabinetmakers ask about machines
- Products / Tools / Resources
1. Begin with the cabinet, not the catalog
A machine earns its place by doing a job your cabinet workflow needs. Before comparing equipment, decide what kinds of cabinets you intend to make, what materials you’ll use, and whether you’ll repeat the same parts.
Sheet goods change the machine list
Frameless cabinet boxes are often built from plywood, MDF, or particleboard panels. The early challenge is getting large sheets cut into accurate, square parts, then drilling consistent holes and assembling the boxes cleanly. In a small shop, a track saw with a guide rail and stable sheet support—or a well-set-up table saw—may cover much of that work.
A CNC router can cut, groove, and drill programmed parts. It also needs suitable software, workholding, tooling, dust extraction, and setup time. It makes more sense when programmed work repeats often enough to repay the extra space and complexity.
Face frames bring solid lumber into the picture
Face-frame cabinets add rails and stiles made from solid wood. If you buy straight, surfaced stock, you may be able to build without a full milling setup. If you want to turn rough boards into flat, consistent parts yourself, a jointer and thickness planer become more useful.
They do different jobs. A jointer creates a flat reference face and a straight edge. A planer brings the opposite face parallel and sets the board’s thickness. A planer by itself does not reliably flatten a twisted board.
Choose which operations stay in your shop
Doors, drawer boxes, and edge finishing can each lead to specialized machinery when you make them repeatedly. For occasional builds, buying prepared doors, having panels cut by a supplier, or outsourcing edge banding can save floor space and keep an expensive machine from sitting idle.
Recommended guide: Custom Face Frame Cupboard Woodworking Plans: Adapt One Proven Design to Any Kitchen, Pantry, or Small Space
2. What each shop size really needs
Home shop: make accurate parts without filling the room
For an occasional cabinet, focus on handling panels safely and cutting them accurately. A track saw can make large sheets more manageable. A table saw can deliver repeatable rips and crosscuts when the material, fence, outfeed support, and operator setup are right for the cut.
A router, drill/driver, clamps, and sander support many small-shop builds. Add a drill press if you need more controlled, repeatable vertical holes. Plan dust extraction as part of the setup, not as an accessory to buy after the first cloud of dust.
Small cabinet shop: remove repeated delays
A shop building cabinets regularly may benefit from a permanent panel-cutting area, a router table, a drill press or boring setup, and stronger dust collection. A sliding table saw can support larger panels and repeated crosscuts. A jointer and planer make sense when the shop often prepares its own solid wood.
If exposed panel edges take up a significant share of the work, it may be time to investigate a manual or powered edgebander. The deciding factors are the number of parts, the edge finish required, and how often the operation comes around.
Production shop: keep each station in step
Production shops may use panel saws or nesting CNC routers, line-boring or CNC drilling equipment, edgebanders, sanding systems, and material-handling stations. The goal is a connected flow: panel sizing, machining, edge processing, and assembly must keep pace with one another.
Industrial cabinet equipment can cover panel sizing, CNC joinery, door profiling, face-frame production, and material handling. That sequence is useful for understanding a production workflow, but it is not a checklist for a home workshop.
3. Follow the work from raw material to cabinet box
First: break down the panels
A track saw cuts sheet goods along a guide rail with the panel supported. It can be a practical choice when a full sheet is awkward to handle on a table saw.
A table saw is useful for repeatable straight cuts and ripping cabinet parts, provided the stock can be supported and controlled safely. A sliding table saw adds a carriage that supports and guides larger panels, but takes more floor space and needs room to load and unload material.
A panel saw is designed for regular sheet processing. Vertical and horizontal models handle stock in different ways; compare the sheet sizes, cut sequence, and shop space before choosing one.
A CNC router follows programmed toolpaths to cut and machine parts. Its value depends on repeated work, sound digital files, reliable workholding, and someone who can set up the job correctly.
Track saws and table saws overlap on some cabinet cuts, but they handle and feed material differently. Choose based on the cuts you repeat and how you can support the sheet safely.
Recommended reading: Woodworking Without a Table Saw: 9 Better Alternatives for Every Cut, Project, and Workshop
Next: prepare solid wood, if your projects call for it
A jointer and thickness planer help prepare rough lumber for face frames, rails, stiles, and solid-wood door parts. If you buy surfaced stock, you may be able to postpone both.
A bandsaw can resaw stock or cut curves. It is not a substitute for a jointer or planer when the goal is flat, parallel lumber.
Recommended reading: How to Buy the Right Lumber for Any Woodworking Project: Choose the Species, Grade, Thickness, and Quantity
Then: drill repeatable holes and machine joinery
A drill press helps make controlled vertical holes. A line-boring machine is built for repeated rows of accurately spaced holes, often used for adjustable shelves and cabinet hardware. CNC equipment can drill patterns as part of a programmed panel workflow.
The right choice depends on repetition. A few holes in a one-off cabinet rarely justify a dedicated line borer; repeated cabinet parts may. Jigs and templates can improve consistency without being machines themselves.
Shape grooves, edges, and profiles
A router and router table can cut grooves, rabbets, edge profiles, and other details with the right bit and setup. A shaper is a heavier machine for repeated profile work with larger cutters. Shops that make doors in volume may add tenoning or dedicated door-machining equipment.
If you plan to buy finished cabinet doors, that machinery may not belong in your shop at all.
Finish exposed edges and flat surfaces
An edgebander applies and trims edge material on panel parts. It becomes more useful as matching edges and repeat parts accumulate. A wide-belt sander can sand flat parts consistently in a production workflow, but it needs considerable space and dust control.
For occasional cabinet work, hand-applied edge banding and a suitable random-orbit sander may be enough. Match the finish method to the material and workload.
Capture dust at the machine
Dust collection is part of the machine system. Saws, routers, planers, and sanders produce dust and chips that need to be captured where they are made.
The UK Health and Safety Executive advises providing extraction at woodworking machines to capture and remove dust before it spreads. Follow the machine maker’s requirements and the rules that apply where you work.
4. Match the machine to the operation
| Cabinetmaking operation | Home or occasional work | Repeated small-shop work | Higher-volume option |
|---|---|---|---|
| Break down sheet goods | Track saw with support or suitable table saw | Table saw or sliding table saw | Panel saw or nesting CNC |
| Prepare solid lumber | Buy surfaced stock or share milling equipment | Jointer and thickness planer | Dedicated milling and ripping stations |
| Drill repeat holes | Drill/driver, drill press, or template | Drill press or line-boring setup | CNC or production boring equipment |
| Cut grooves and profiles | Router or router table | Router table or shaper, depending on work | CNC, shaper, or dedicated profile equipment |
| Finish exposed panel edges | Hand-applied edge material | Manual or powered edgebander | Production edgebander |
| Sand flat parts | Random-orbit sander | Suitable stationary sanding equipment | Wide-belt sanding system |
Before buying, ask yourself four practical questions:
- What material will I process? Sheet goods, rough hardwood, and surfaced lumber lead to different machine needs.
- How often will I repeat the operation? Repeated work can justify a fixed setup or dedicated machine.
- Where does accuracy matter most? Cabinet doors, matching openings, and shelf-hole patterns each ask for different kinds of repeatability.
- Could I outsource this step for now? A local cutting or edge-banding service may make sense until the work becomes regular.
5. Add machines when a real bottleneck appears
Start by supporting accurate cabinet construction
Begin with the setup that safely handles the panels you plan to use. Add routing, drilling, clamping, sanding, and dust extraction around your build method. If the shop cannot support large panels comfortably, check whether a supplier can cut them.
Watch what slows the work down
After a few builds, notice which steps cause waiting, repeated setup, inconsistent results, or rework. If preparing rough lumber holds up the project, a jointer and planer may help. If repeated holes slow assembly, improve the drilling setup. If edge finishing absorbs too much time across many panels, evaluate an edgebander.
Automate only when the workflow is ready
CNC routers, panel saws, line borers, and wide-belt sanders can increase throughput. They also bring setup, maintenance, tooling, power, training, and space requirements. Compare those needs with the actual workload and alternatives such as outsourcing, sharing equipment, or waiting.
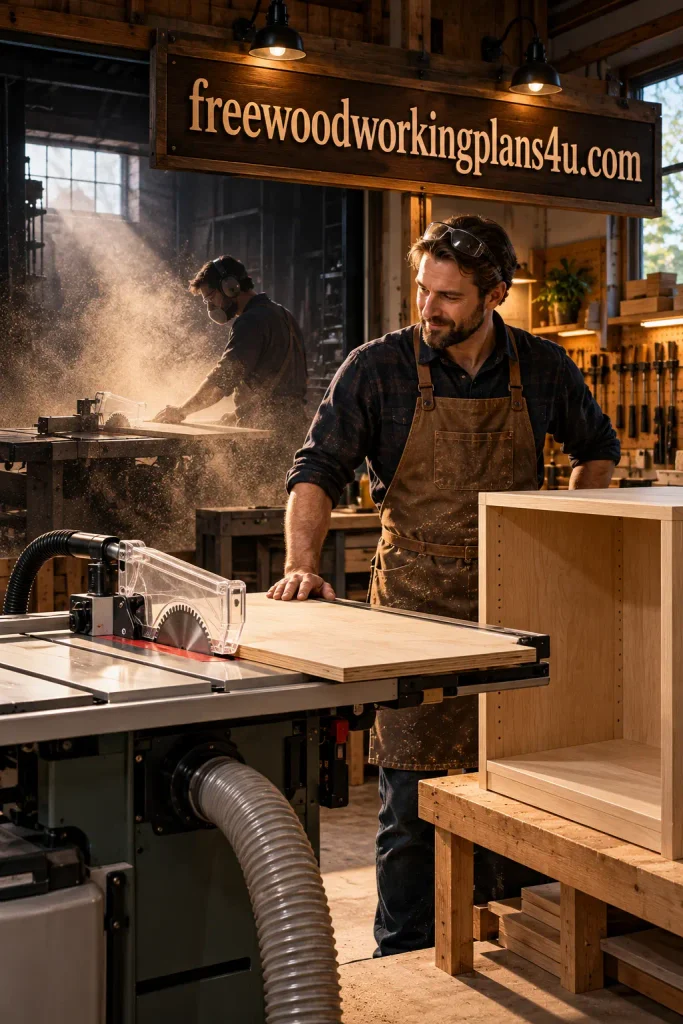
A useful rule: Buy a machine to solve a repeated cabinetmaking problem you can describe—not to make the shop look more professional.
6. Make room for the whole machine system
A machine’s footprint is only the beginning. Allow for the longest material you will process, safe infeed and outfeed, room to move around it, and a place to store panels before cutting. Full sheets can be awkward to control; decide how you’ll handle them before choosing a saw.
Check electrical requirements, floor capacity, dust-extraction connections, blade or cutter availability, and the manufacturer’s clearance guidance. A machine can fit on a floor plan and still block a work path or leave no space to assemble cabinet boxes.
Keep the route between cutting, drilling, edge finishing, and assembly as clear as you can. Fewer awkward lifts make the work easier to manage and help parts stay oriented as they move through the shop.
Recommended guide: Best Woodworking Machines for Beginners: The 7 Tools That Make Every Project Easier (Without Wasting Money)
7. Safe machines make better work possible
A cabinet machine should suit the operation, be properly maintained, and be used by someone who understands its controls and safeguards. Read the manual, use the guards and workholding specified for the task, and never bypass safety devices. For machine-specific instructions, rely on the manufacturer and applicable local safety requirements.
The UK Health and Safety Executive’s woodworking guidance covers machine guarding, training, and safe use. Its training material highlights the correct use of guards, jigs, push-sticks, brakes, and dust extraction. Extraction should be designed for the machine and process rather than added as an afterthought.
If you cannot support the material or control the operation safely, choose another method or have that step done by a properly equipped shop.
Recommended reading: Beginner Woodworking Safety Checklist: 47 Things to Check Before You Make Your First Cut
8. Buying mistakes that are easy to avoid
Buying before deciding how you’ll build
Choose whether you’ll make frameless boxes, face-frame cabinets, or both. Then map the materials and operations. That simple step can keep you from buying machinery your projects don’t need.
Expecting one saw to solve every sheet-handling problem
A table saw is versatile, but large sheets need safe support and control. Depending on the shop, a track saw, sliding table saw, panel saw, or cutting service may be a better fit for some jobs.
Buying a planer before you can flatten the board
A thickness planer makes opposite faces parallel; it does not correct every twist or cup by itself. Use a suitable reference-face method or buy stock that is already prepared.
Treating every specialized machine as essential
CNC, edge banding, line boring, door profiling, and wide-belt sanding all have useful roles. Their value depends on workload, repeatability, finish requirements, and how much of the operation you want to keep in-house.
Forgetting extraction and material movement
A saw or sander belongs to a larger setup that includes dust capture, power, stock storage, and safe movement of parts. Plan those pieces before installation.
9. Questions cabinetmakers ask about machines
“What’s the most important machine for making cabinets?”
There isn’t one machine that suits every shop. For many small shops, accurate sheet breakdown is the first big challenge, so a track-saw system or a well-supported table saw is a practical place to start. The choice depends on panel size, cut repetition, shop layout, and safe handling.
“Can I make cabinets without a table saw?”
Yes. A track saw with a guide rail and stable panel support can handle many cabinet-sheet cuts. You can also buy panels cut to size or use another suitable cutting service. Choose the method that lets you make accurate cuts while controlling the material safely.
“Do I need a jointer and planer?”
Only if your workflow regularly starts with rough solid lumber. A jointer creates a flat reference face and straight edge; a planer makes the opposite face parallel and sets thickness. If you buy surfaced stock or mainly use sheet goods, you may be able to wait.
“Is a CNC router necessary for cabinetmaking?”
No. A CNC router can cut and machine repeated programmed parts, but it isn’t required for one-off cabinets or every small shop. Consider one when the repeated work, software, workholding, dust control, and available space justify it.
“Which machines are used to make cabinet doors?”
That depends on door style and volume. A shop making solid-wood frame-and-panel doors may use routers, shapers, or dedicated door and tenoning equipment. A shop that buys prepared doors doesn’t need the same machinery.
“Do I need an edgebander for plywood cabinets?”
Not necessarily. It is useful when you repeatedly apply edge material to many panel parts. For occasional projects, manual edge finishing or outsourcing may be more practical.
“What should a beginner buy first?”
Start with a safe way to cut your chosen materials accurately, plus suitable drilling, routing, clamping, sanding, and dust-control equipment. Add milling or production machines when your projects call for those operations repeatedly.
“How do I choose between a table saw and a track saw?”
Compare the material size, cuts you repeat, available support, space, and safe operating method. A track saw can make large-sheet breakdown manageable; a table saw offers repeatable cuts when the work can be controlled and supported. Some shops use both for different tasks.
Products / Tools / Resources
Before you start, gather the cabinet plan, cut list, measuring and layout tools, suitable clamps, and manuals for the machines you’ll use. Check the stock sizes and make sure your shop can support each cut.
- For the project: Get the free woodworking plans and the 440-page Art of Woodworking guide to help choose a build and understand the steps before starting.
- For the shop: Select a suitable panel-cutting setup, router, drilling equipment, clamps, sander, and dust extraction based on your material and workload.
- For safe operation: Keep the machine manuals close and consult the HSE’s woodworking machinery guidance and wood dust guidance, along with your local requirements.