
There’s a quiet pleasure in making something for the place you share with your cat. A clear patch of wall becomes a small perch: somewhere to watch the room, stretch out, or simply sit above the bustle below.
This beginner-friendly plan keeps the woodworking simple. It uses one shelf board and a matching set of brackets.
The important decision comes before the first cut: the bracket system and its fasteners must suit your wall. Wall construction varies, and a shelf that may receive a cat’s landing needs careful installation.
The Feline Veterinary Medical Association includes safe vertical space among the environmental needs to consider for indoor cats. A wall perch can be one way to provide it, though each cat has its own preferences.
Cat wall shelf plan at a glance
| Project detail | Sample plan |
|---|---|
| Shelf board | 600 × 250 × 18 mm (about 23.6 × 9.8 × 0.7 in) |
| Wood cuts | One rectangular board |
| Supports | Matching cat-shelf brackets approved for the board size and intended use |
| Joinery | None required |
| Skill level | Beginner for the woodworking; installation depends on the wall and mounting system |
| Optional surface | Removable, low-profile grippy mat |
These dimensions offer a starting point for one perch. Measure your available wall space, then check the bracket maker’s instructions before cutting.
If the bracket layout doesn’t suit your wall, adjust the design or ask an installer to help plan the mounting.
Materials and tools for the build
Materials
- One straight, sound board measuring 600 × 250 × 18 mm
- A matching set of cat-shelf brackets, in the number and spacing specified by their manufacturer
- Fasteners specified for the bracket and your wall type
- Optional removable, grippy surface covering
- Optional interior wood finish
Look for a board without cracks, major splits, or noticeable twisting. Suitable plywood and solid wood are both options for a shelf board. Plywood edges may need a little extra sanding or an edge finish.
Tools
- Measuring tape, pencil, and square
- Saw, if the board isn’t already cut to size
- Sanding block or sander and sandpaper
- Drill and driver
- Level
- A suitable tool for locating wall supports, if your wall system uses them
Wear eye protection while cutting and sanding. Before drilling, check for hidden wiring and plumbing, and follow local guidance. If you’re unsure what lies behind the wall, have an installer assess it first.
The cat wall shelf cut list
| Part | Quantity | Finished size | Notes |
|---|---|---|---|
| Shelf board | 1 | 600 × 250 × 18 mm | Buy pre-cut or cut from a larger board |
| Grippy mat, optional | 1 | About 550 × 200 mm | Leave a small border around the board |
That’s the full wood cut list: one board, with no complicated joinery. Brackets and wall fasteners are separate because the right choices depend on the wall, bracket design, and installation instructions.
How to build the cat shelf
1. Plan the wall connection first
Before cutting, check that the bracket system is intended for a shelf of this size and that its mounting method suits your wall. If the brackets need to line up with structural supports, mark those positions and make sure the board can accommodate them.
Cat-shelf manufacturers may provide different installation directions for wood framing, metal framing, and masonry. Follow the instructions for your exact bracket and wall type; don’t assume hardware for one surface will suit another.
2. Cut and prepare the shelf board
If you’re cutting the board yourself, measure twice and mark a square cut line across its width. Clamp the board securely and cut at a steady pace. If you bought it pre-cut, check that the ends are square and the board sits flat.
Sand the faces and edges until they feel smooth. Ease the corners slightly so they aren’t sharp, while keeping the board’s overall shape even.
3. Finish the wood, if you choose to
You can leave the wood unfinished or use a finish labeled for indoor use. Follow the product directions for ventilation, drying, and curing. Keep your cat away from the board until the finish has fully cured according to the manufacturer’s instructions.
4. Install the brackets and attach the board
Position the brackets according to their instructions. Use a level to check the alignment before tightening the fasteners. If the bracket system calls for the shelf board to attach from underneath, use the maker’s recommended screws for 18 mm stock. Check the screw length so no tip can break through the top.
If the mounting points don’t work with your wall’s support system, pause and revise the layout. Use a mounting system designed for that wall or ask an installer for advice.
5. Add an optional grippy surface
A removable mat can add traction while keeping the wood easy to inspect. Choose one that lies flat and doesn’t slide, and leave the shelf edges visible. Make sure the corners don’t curl or leave loose edges that could catch a claw. Follow the covering product’s instructions for attachment and drying.
Mounting safety depends on your wall
A shelf board, bracket, fastener, and wall work together. A load figure for a bracket alone may not describe the complete assembly when a cat lands on it. The shelf’s projection, bracket spacing, wall material, fasteners, and installation all matter.
- Wood framing: If your bracket system is designed to attach to framing, locate the correct support and use the specified fasteners.
- Brick or concrete: Choose a fixing system intended for that masonry and install it according to its instructions.
- Gypsum or plasterboard: Don’t assume a general-purpose wall plug is suitable for a shelf a cat may jump onto. Use a mounting system approved for the exact wall construction, or ask an installer.
- Unknown wall construction: Identify the wall before drilling, or get professional help.
There is no universal mounting method or safe load rating for every cat wall shelf. If the shelf shifts, tilts, or makes noise during the manufacturer’s inspection process, keep your cat away until the installation has been corrected. Don’t use your cat—or a person standing or hanging from the shelf—as a load test.
Choose a spot your cat can reach comfortably
Think about how your cat moves through the room. A perch near a familiar resting place or an existing piece of furniture may be easier to explore than one on its own. Keep the landing area clear of cords, breakable objects, and other hazards.
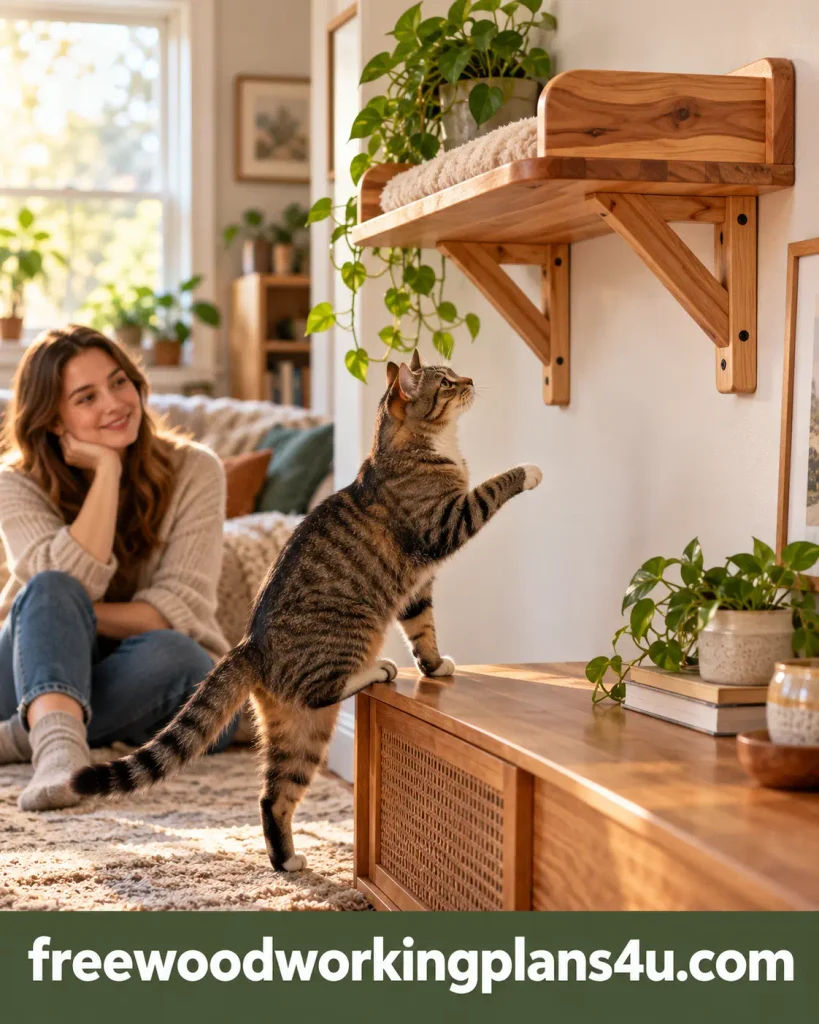
Your cat’s age, mobility, confidence, and habits all matter. A lower approach or an intermediate resting place may suit some cats better. Let your cat investigate at its own pace. A familiar blanket nearby or a treat offered as an invitation can make the new spot feel less mysterious; there’s no need to place your cat on the shelf.
Questions you may have before building
How big should a cat wall shelf be?
This sample plan uses a board measuring 600 × 250 mm. Check that the surface suits your cat and that the bracket maker approves the board’s size and projection. Measure your wall and consider how your cat will reach and leave the perch.
Can I mount a cat shelf directly to plasterboard?
It depends on the wall construction and the mounting system. Don’t treat a general-purpose plasterboard anchor as a universal solution for a shelf that may receive a jumping impact. Follow the bracket manufacturer’s directions for your wall, or ask an installer if you can’t confirm a suitable method.
What wood works for a DIY cat shelf?
Choose a straight, sound board without cracks or significant twisting. Suitable plywood and solid wood are both common choices. The board is only one part of the project; the brackets and wall connection need to suit the design too.
Will my cat use a wall-mounted shelf?
There’s no guarantee. Cats differ in where they like to rest, how readily they climb, and whether they prefer open or enclosed spaces. Place the shelf where your cat can approach it comfortably, then let your cat decide whether it becomes a favorite spot.
What finish should I use?
Follow the finish manufacturer’s directions for indoor use, ventilation, and curing time. Keep your cat away from the shelf until the product is fully cured as directed. If you’re uncertain about a product around your pet, ask your veterinarian.
Products / Tools / Resources
- Shelf board: One straight, sound board, 600 × 250 × 18 mm
- Cat-shelf brackets: A matching set approved for the shelf dimensions and intended use
- Wall fasteners: The type specified for the bracket and your wall construction
- Optional grip: A removable mat that lies flat and has no loose edges
- Basic tools: Measuring tape, square, saw, sandpaper, drill/driver, level, and eye protection