
You measure the board, mark the length, and lower the saw. Then you check the piece—and it’s just a little short.
The missing wood went with the blade. That narrow strip is the kerf, and once you know where it falls, accurate cuts get much easier.
Miter saw kerf is the width of material removed by the blade. To cut to length, keep the kerf on the waste side of your mark.
The blade’s listed kerf gives you a useful starting point, but a test cut shows where your actual saw and blade cut.
Recommended reading: What Is Saw Kerf in Woodworking? The Hidden Width Behind Every Cut
The small gap that changes a measurement
Kerf is the slot a blade leaves in the wood. It isn’t quite the same as the thickness of the blade’s steel body: the teeth extend beyond that plate, so the cut they make is usually wider.
One other term can cause confusion. A miter saw’s kerf plate, sometimes called a kerf insert, is the slotted piece in the saw table around the blade. It’s part of the saw, not the cut left in your board.
| Term | What it means |
|---|---|
| Kerf | The material removed by the blade |
| Blade plate | The flat steel body of the blade |
| Kerf plate or insert | The slotted part of the saw table |
How wide is a miter saw kerf?
There isn’t one kerf width for every miter saw blade. A familiar estimate is 1/8 inch, or about 3.2 mm, but check your blade’s specifications before using that number in a close-fitting cut plan.
The difference can be meaningful. Freud lists one 12-inch blade with a .090-inch kerf and another with a .116-inch kerf. Those are examples, not universal values—and a good reminder to check the blade you have.
The blade specification is a starting point
The maker’s listed kerf helps you plan. But for a precise cut, the most useful check is a test with the same blade, stock, and saw settings you’ll use for the project. That shows how your setup behaves, instead of asking you to trust a number that may not match it.
How to cut to the line without losing length
The trick is simple: decide which side of the mark is the finished piece, then let the blade remove material from the other side.
Mark the length from a reliable reference
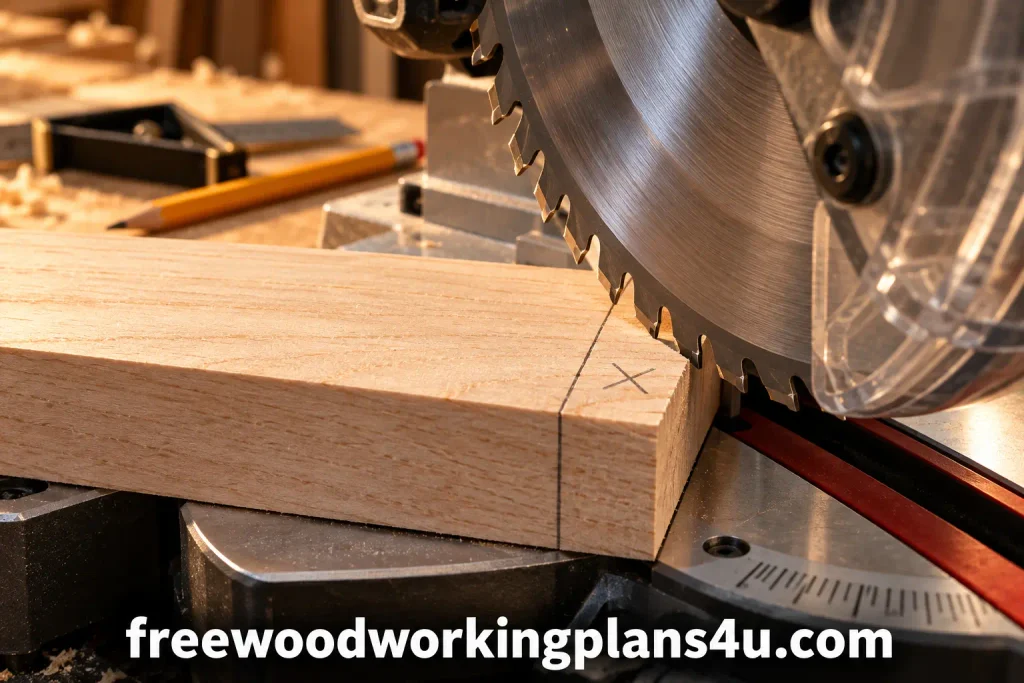
Start from a straight, squared end. Mark the desired length and make it clear which side of the line is waste. An X on the waste side can be a helpful reminder when you’re concentrating on the cut.
For a mitered end, decide whether the plans measure to the long point or the short point. The inside and outside edges of a miter are different lengths, so use the same reference point as the drawing.
Leave the cut on the waste side
For a pencil mark, a common approach is to keep the line visible on the finished piece and cut just outside it. The kerf takes the waste, and the line remains as your boundary.
If you center the blade on the line without checking, the kerf can take wood from both sides. That’s how a careful measurement can still produce a short part.
Treat the laser as a guide
A laser or shadow line can help you position the saw, but it may indicate one edge of the cut or the blade’s center, depending on the model. Check where it falls with a test cut before relying on it for important pieces.
Make a test cut before you commit
A scrap offcut is a small price for certainty. Use one from the same stock, set the saw to the same miter or bevel angle, and cut using the same reference point you plan to use on the project piece.
Measure the result. If it’s too long or short, adjust your blade position or stop and test again. The goal is to confirm the whole setup—not just the blade—including your mark, angle, reference end, and way of holding the stock.
Account for kerf when cutting several pieces
Kerf matters most when several finished parts must come from one board. Each cut removes material, so the board needs to be long enough for the parts and the sawdust-width gaps between them.
A useful planning rule is:
Total kerf loss = actual kerf width × the number of cuts that remove material from the planned pieces.
Include end-squaring cuts too, if you need to trim the stock before measuring.
Here’s a simple example. If you split a board that measures exactly 24 inches down the middle with a blade that removes 1/8 inch, the cut leaves 23 7/8 inches for the two pieces. If the cut is centered, each piece will be 11 15/16 inches—not 12 inches.
To get two pieces that are both 12 inches long, you’ll need a longer board to allow for the cut and any end trimming.
Recommended guide: Saw Kerf Calculator for Woodworking Cut Lists: Calculate Exact Stock Length Before You Cut
Make repeat cuts with a stop block
A stop block can save time when you need several pieces of the same length. The challenge is setting it where the blade actually cuts.
One method uses scrap to mark the blade path: secure the scrap, make a shallow cut to leave a kerf, then use that kerf as a reference when positioning the stop. Stumpy Nubs describes using this method to set a miter saw stop accurately.
Make one test piece and measure it before cutting the batch. Check that your setup supports the stock and won’t trap an offcut between the blade and the stop. Follow your saw’s manual, keep hands clear of the blade area, and wait for the blade to stop before removing pieces.
The miter saw kerf mistakes that cost the most time
- Assuming every blade removes 1/8 inch. Check the blade specification when the cut plan is tight.
- Cutting through the middle of the line. Choose the waste side and keep the kerf there.
- Trusting a laser without checking it. Confirm the blade path with scrap.
- Measuring a miter from the wrong point. Follow the plan’s long-point or short-point reference.
- Changing reference ends between cuts. Use the same measuring method throughout a batch.
Questions woodworkers ask about miter saw kerf
Do I add kerf to every measurement?
No. When cutting one piece from a longer board, mark the finished length and keep the kerf on the waste side. The kerf matters when a cut plan divides stock into several pieces or when you need to know how many parts will fit.
Is kerf the same as blade thickness?
No. Kerf is the width of the cut. Since blade teeth extend past the steel plate, the cut is usually wider than the plate itself.
Learn more: Thin Kerf vs Full Kerf Saw Blade for Woodworking: How to Choose the Right Blade for Your Saw
Does a 45-degree cut change the kerf?
The cut angle changes the path through the board. For an accurate miter, test the setup at the angle you’ll use and measure from the correct point on the finished piece.
Why are my repeated cuts coming out slightly different?
The stop may have shifted, the stock may not be sitting consistently against the fence, or you may be measuring from different reference ends. Make a test piece, check it, then compare a second piece before continuing.
Products / Tools / Resources
You don’t need a special kerf-measuring gadget to get started. A few familiar shop items can help you check your setup:
- A scrap piece from the same stock: Use it to confirm the blade path and finished measurement before cutting project parts.
- A tape measure or steel rule and a pencil: Mark the target length clearly and identify the waste side.
- A square: Check a reference end before measuring from it.
- A stop block: Useful for repeat cuts once you’ve tested and checked its position.
- Your miter saw and blade manuals: Check the blade’s listed kerf and the saw maker’s guidance for blade setup, clamping, and stock support.