
The hardest part of woodworking in a small home can be finding somewhere to begin. A permanent bench takes up room while you’re cooking, parking, or simply trying to move through the space.
A portable woodworking workbench for small spaces gives you a surface when you need one, then folds away when the project is done.
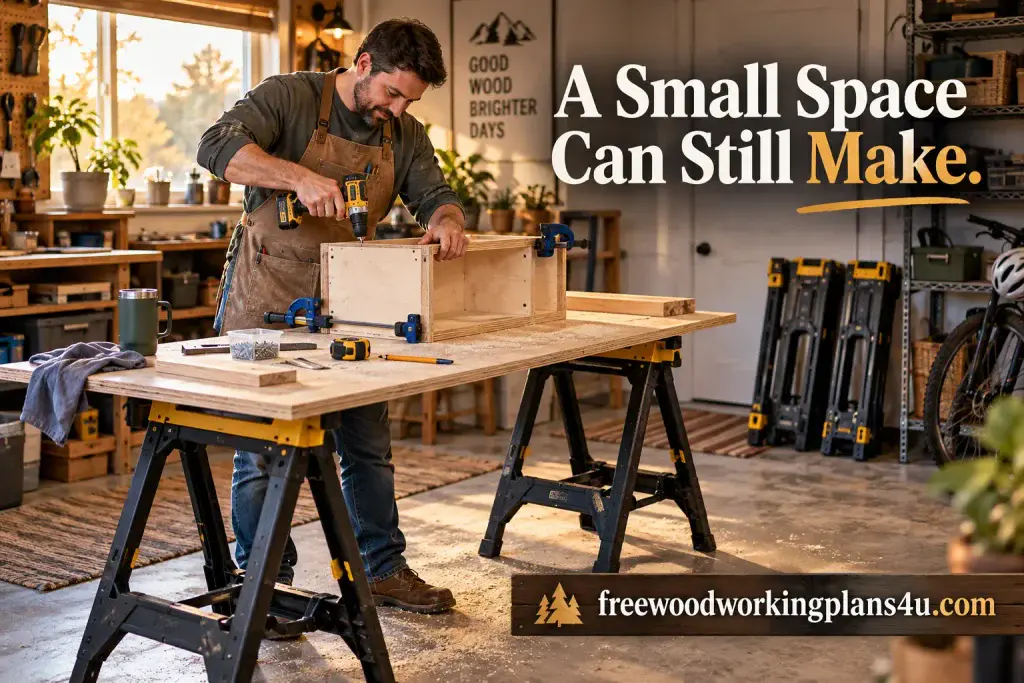
This design has two parts: a stiffened plywood top and a matched pair of folding work supports. You build the top, set it over the supports, and secure it for the job. Afterward, the supports fold and the top stores separately.
The dimensions below are a starting example, not a tested load rating. The finished bench’s capacity and stability depend on the materials, fasteners, supports, floor, and task.
Check the instructions for the hardware and supports you choose, then test the assembled setup before you work on a project.
A workbench that gives the room back
A modular bench has a small advantage that becomes obvious the first time you pack it away: each part can be stored where it fits. The supports fold into a narrow profile. The top can stand against a wall or slide into a closet.
For this build, the work surface is a plywood panel reinforced underneath with a simple lumber frame. It rests on two folding trestles or work supports. This arrangement can suit light assembly, sanding, repairs, and similar tasks—provided the supports are stable and suited to the work.
Heavy planing, pounding, or mounting a power tool can create forces a light portable setup may not handle. Think of the bench as a flexible work surface, then match each job to what the assembled setup can safely support.
Find the footprint before you cut
Start with the space, not the lumber. Use painter’s tape to mark a possible workbench footprint on the floor. Stand where you’d work. Imagine moving a board across the surface. Can you reach your tools? Can you step around the bench without turning every movement into a shuffle?
Measure the spot where the top will work and the place it will live afterward. Check doorways, closet height, and whether you can lift and carry the panel without awkwardly twisting around furniture.
As a reference, a 24-by-48-inch top (610 by 1,220 mm) made from ¾-inch plywood (about 19 mm) gives you a useful surface for many small projects. It’s also too large for some corners. A top around 24 by 36 inches (610 by 915 mm) might be easier to tuck away, though it gives you less room to work.
Let your projects decide. A small repair or sanding job may need only a compact panel. Before assembling a cabinet, lay out its parts and see how much surface they actually take.
Height matters, too. The folding supports determine how high the work surface sits. Check their height before you buy, and try a scrap board on top if you can. A quick mock setup can tell you more than a measurement alone.
Materials and tools for the example build
This example assumes a 24-by-48-inch top and frame rails that measure 1½ inches wide. Lumber sizes can vary, so measure your own stock and fit the shorter pieces to the frame.
| Part | Example quantity | Notes |
|---|---|---|
| ¾-inch plywood | One 24-by-48-inch panel | Choose a flat panel with sound edges |
| 2-by-2 lumber | Two 48-inch rails | Measure the actual stock |
| 2-by-2 lumber | Four short rails | Fit between the long rails; 21 inches is an example |
| Folding work supports | One matched pair | Check the maker’s stated capacity and intended use |
| Wood glue and suitable fasteners | As needed | Match them to the stock and joint method |
Gather a tape measure, square, pencil, saw, drill, suitable bits, clamps, and sandpaper. Wear eye protection when cutting and drilling, and follow the instructions for your tools.
The frame has two long rails under the panel and short rails fitted between them. Two short rails close the ends; the others act as cross rails. Before assembly, position the supports beneath the top and align the cross rails with their top rails. Check the layout with the actual supports so you don’t build in a mismatch.
Build the top, one careful step at a time
1. Cut and inspect the plywood
Cut the panel to your chosen size, or have the supplier cut it. Check that it lies flat and that the edges are intact. Sand away splinters and rough spots that could catch your hands or damage something in storage.
If you choose a smaller top, resize the frame to fit. A panel you can comfortably carry and store is more useful than one that stays in the corner because it’s difficult to move.
2. Arrange the frame underneath
Place the plywood on a flat surface with its underside facing up. Set the two long rails beneath the long edges, then fit the short rails between them.
For the example panel, two 48-inch rails and four short rails that fit between them create a straightforward layout. If the long rails measure 1½ inches across, each short piece would be about 21 inches. Measure your own panel and stock before cutting; nominal lumber sizes are not always the same as the actual dimensions.
Recommended reading: How to Read Lumber Sizes in Woodworking Plans: Nominal vs. Actual Dimensions
Bring the folding supports into the layout. Move the cross rails until they line up with the support rails and leave room for any clamps you plan to use. Mark the positions once everything fits.
3. Join the rails securely
Use a fastening method suited to the stock and your experience, such as pocket-hole joinery or appropriate screws and connectors. Predrill where needed to reduce splitting. Check that the frame is square and that the cross rails sit flush.
Fasteners should match the thickness of the pieces. If a screw will pass through a rail and into the plywood, test the length on an offcut first. A screw tip that breaks through the work surface can catch a workpiece—or a tool.
4. Attach the plywood
Return the frame to its marked position underneath the panel and clamp it so nothing shifts. Attach it with glue and suitable screws driven from the frame into the underside of the plywood. Keep fasteners clear of the top face.
Turn the panel over and check the surface. Sand sharp edges and look for bumps or proud fasteners. If you apply a finish, let it cure fully before using the bench. A slick surface can let a workpiece slide, so choose a finish with your work habits in mind.
5. Set the top on the supports
Open the supports on a firm, level surface and lock them according to their instructions. Place the top so its reinforced cross rails rest over the supports’ top rails. Secure the top with clamps or with a connection recommended by the support manufacturer.
You can add locating cleats beneath the panel to help it sit in the same position each time. Fit them to the actual support rails and check that they won’t interfere with folding, clamping, or storage. Cleats don’t make a support suitable for a task it wasn’t designed to handle.
Give the setup a careful check
With the supports open and locked, check that all the feet touch the floor and that the top sits evenly. Press gently at different parts of the surface. Watch for rocking, sliding, or movement at the joints. If anything shifts, stop and correct the setup before adding tools or a workpiece.
Then clamp a scrap board in place and apply light hand pressure, as you would during the task you plan to do. The board and workbench should stay put. If they move, improve the support or clamping arrangement, choose a task that creates less force, or use a more rigid bench.
Secure the workpiece before cutting or sanding instead of trying to hold it by hand. Follow the instructions for your tool, supports, and clamps. Don’t mount a saw or other power tool unless the support system is designed and approved for that use.
Wood dust and some finishing products can create health hazards. Plan for suitable dust control and ventilation, and follow the safety directions for the products and tools you use. OSHA’s woodworking guidance covers wood dust and finishing chemicals among the hazards to manage.
Make setup and pack-away part of the workflow
A compact bench is easier to use when setup is predictable:
- Move the supports to a clear, level spot.
- Open and lock them as their instructions specify.
- Place the top so its reinforced rails rest over the supports.
- Secure the top, then clamp the workpiece.
- When you’re finished, clear the surface, detach the top, and fold the supports.
Store the top upright against a wall or inside a closet if it’s manageable to lift. Protect its edges from knocks and keep it from sliding or tipping. Put the folded supports somewhere they can’t fall into a walkway.
If the top feels awkward to carry, shrink it or ask someone to help. The point of a portable setup is that you can bring it out when you’re ready to work—and put it away without a struggle.
For more ideas on organizing tools and storage in a small garage, read our guides to small garage woodworking layouts and folding workbenches with a vise.
The questions that come up before the first cut
Could I make the top smaller than 24 by 48 inches?
Yes. Choose a size that suits your room and projects, then resize the frame. Measure the support rails before deciding where the cross rails should sit.
Will any folding sawhorses work?
Choose supports that are stable, compatible with the top, and intended for the work you have in mind. Check the manufacturer’s instructions and stated capacity, including whether the rating applies to one support or a pair. A capacity rating alone doesn’t show that a setup is suitable for every kind of woodworking force.
Would this be steady enough for hand-planing?
That depends on the supports, bracing, floor, and workpiece. Hand-planing can push the bench sideways. Test the setup carefully; if it moves, use a more rigid bench for that job.
Can I add a vise?
Only if the top and supports can handle the forces the vise creates. A vise can twist or move a lightweight bench during use. Check the instructions for the vise and supports, and test the setup before relying on it.
What will keep a board from sliding?
Use clamps suited to the board and bench. Make sure they fit around the top and support rails without interfering with folding parts. Keep your hands clear of cutting edges and follow the tool maker’s safety instructions.
Products / Tools / Resources
- Plywood: One flat ¾-inch panel, sized to your room and intended projects.
- Lumber: 2-by-2 stock for the underside frame; measure the actual width before cutting.
- Folding work supports: A matched pair with clear instructions and a capacity suitable for your intended work.
- Fasteners and glue: Select them for the lumber, plywood thickness, and joinery method.
- Clamps: Choose clamps that hold your workpiece securely and fit around the assembled top.
- Safety and dust control: Eye protection, suitable dust control, and ventilation for the tools and finishes you use.