
A screwdriver left on the bench is easy to find. The one that has slipped behind the bench, under a stack of offcuts, is another story.
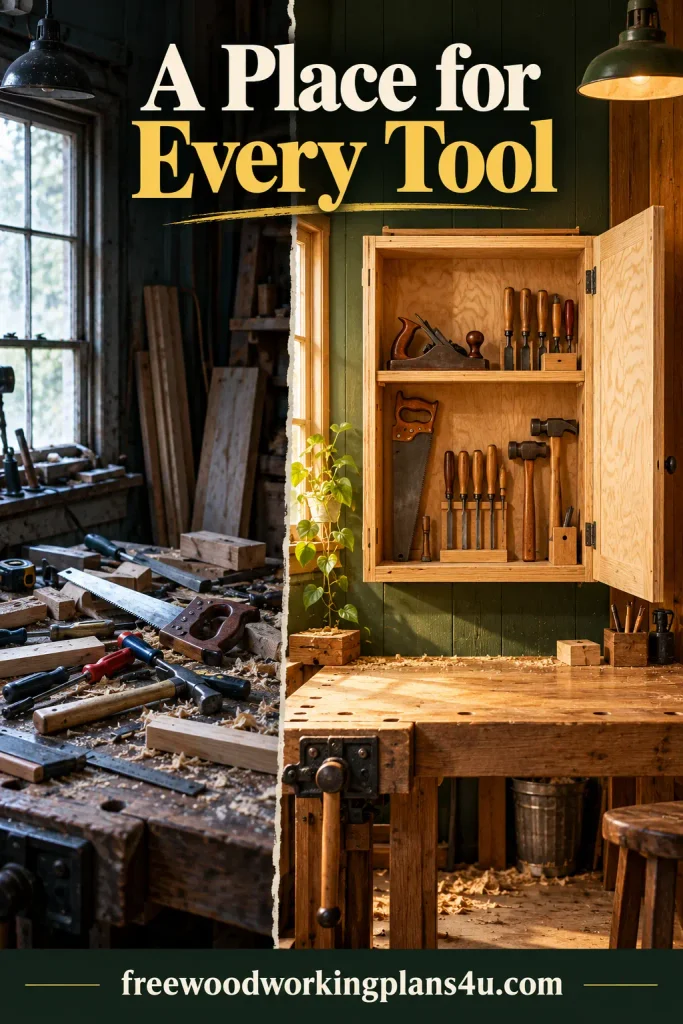
A wall-mounted tool cabinet gives hand tools a place you can see and reach, while leaving the floor clear. These free woodworking plans for a wall-mounted tool cabinet describe a compact plywood cabinet with a fixed shelf, a single door, and a French-cleat mounting concept.
The case measures 24 inches wide, 30 inches high, and 8 inches deep.
Below you’ll find the layout, a complete cut list, materials, and the build sequence. The measurements describe a reference design; they do not certify the cabinet for a particular load.
The cabinet has not been independently load-tested, and the wall attachment must be chosen for the actual wall and the weight of the cabinet and its contents.
The plan at a glance
| Plan detail | Specification |
|---|---|
| Cabinet case | 24 in. wide × 30 in. high × 8 in. deep |
| Overall depth | About 9¼ in. including the ½-in. back and ¾-in. door, before hinges and handle |
| Interior | One fixed shelf; upper and lower storage bays |
| Main materials | ¾-in. plywood for the case; ½-in. plywood for the back |
| Door | ¾-in. plywood, overlay style |
| Intended storage | Hand tools and small workshop supplies |
| Joinery | Pocket-hole or equivalent cabinet joinery, plus shelf cleats |
| Wall attachment | French-cleat concept; fasteners must suit the wall and loaded cabinet |
Plywood labelled ¾ inch can measure less than ¾ inch. Measure your sheet before cutting parts that fit between other parts; that small check saves a surprising amount of fitting later.
Cabinet layout and dimensions
The drawing is schematic rather than to scale. Use the cut list for part sizes and the written dimensions for layout.
flowchart TB
  subgraph Front["Front elevation — 24 in. wide × 30 in. high"]
    top["Top panel"]
    upper["Upper bay — 15 in. clear"]
    shelf["Fixed shelf — 22½ × 8 in."]
    lower["Lower bay — 12¾ in. clear"]
    bottom["Bottom panel"]
    top --> upper --> shelf --> lower --> bottom
  end
The opening inside the case is 22½ inches wide by 28½ inches high. The shelf is ¾ inch thick. Set its underside 12¾ inches above the inside face of the bottom panel. That leaves 12¾ inches of clear space below the shelf and 15 inches above it.
The case sides are 8 inches deep. The ½-inch back covers the rear edges, and the ¾-inch door sits across the front. With both panels in place, the cabinet projects about 9¼ inches from the wall, before adding hinges or a handle.
Free woodworking plans: cut list
Every size below is a finished dimension. If your cutting setup benefits from leaving a part slightly long, do that and trim it to final size. Square the panels before assembly.
| Part | Material | Quantity | Finished size |
|---|---|---|---|
| A — Case sides | ¾-in. plywood | 2 | 30 × 8 in. |
| B — Top and bottom | ¾-in. plywood | 2 | 22½ × 8 in. |
| C — Fixed shelf | ¾-in. plywood | 1 | 22½ × 8 in. |
| D — Upper mounting-rail laminations | ¾-in. plywood | 2 | 22½ × 3½ in. |
| E — French-cleat blank | ¾-in. plywood | 1 | 22½ × 4 in. |
| F — Back | ½-in. plywood | 1 | 24 × 30 in. |
| G — Door | ¾-in. plywood | 1 | 23½ × 29½ in. |
| H — Shelf supports | Hardwood or plywood | 2 | ¾ × ¾ × 7½ in. |
Glue the two D pieces face-to-face. Together they form a mounting rail about 1½ inches thick, 3½ inches high, and 22½ inches wide. Rip the E blank lengthwise at 45 degrees to make two mating French-cleat halves. Make a short test cut in scrap first; the saw kerf affects the finished height of each half.
The door is smaller than the case’s outside face, leaving a ¼-inch reveal around the edges. It overlaps the opening by ½ inch on each side and at the top and bottom. Check the hinge maker’s overlay requirements before drilling.
Materials and hardware
- One 4 × 8 ft. sheet of ¾-in. plywood
- One ½-in. plywood panel large enough for the 24 × 30-in. back
- Hardwood or plywood for the two shelf cleats
- Interior woodworking glue
- Pocket-hole screws, or fasteners for the joinery system you choose
- Screws for the back, rail, shelf cleats, and French cleat, selected for the parts being joined
- Three hinges suited to the door’s size, thickness, and weight, if specified by the hinge maker
- Cabinet pull or handle
- Optional catch to keep the door closed
- Wall fasteners selected for the wall type and expected loaded weight
The wall fasteners are not interchangeable with ordinary cabinet screws. Follow the instructions and load information for the cleat or mounting hardware you select. The manufacturer’s guidance emphasizes using the specified fastener type, quantity, size, and placement; incorrect installation can reduce connection performance. Simpson Strong-Tie installation guidance.
Tools for the build
For this version of the cabinet, gather:
- Table saw or circular saw with a straightedge guide
- Drill and driver
- Pocket-hole jig, if using pocket-hole joinery
- Clamps
- Tape measure, square, and pencil
- Sander and sanding block
- Stud finder or another suitable way to identify framing
- Sawhorses or a stable work surface
Keep the work supported and use machine guards and procedures supplied by the tool maker. Keep hands away from the blade, and wear suitable eye and hearing protection. OSHA’s woodworking guidance covers hazards such as blade contact, kickback, and flying particles, along with wood-dust exposure and dust controls. OSHA table-saw safety · OSHA wood-dust guidance.
Before you cut: picture the cabinet on your wall
First, gather the tools you expect to store. Lay them out on a bench and check their length, handle shape, and depth. The case is 8 inches deep, but the shelf, door, hinges, and mounting rail all affect usable space. A long tool may need to hang vertically or live somewhere else.
Then measure the wall. Look for nearby doors, windows, lights, outlets, benches, and anything the cabinet door might bump into. A cardboard mock-up cut to 24 × 30 inches is a simple way to test the size. Tape it in place, open and close nearby doors, and stand where you’ll actually reach for a tool.
Identify the wall construction before choosing the mounting hardware. Wood framing, masonry, and metal studs call for different attachment methods. The fasteners and mounting system must account for the cabinet and everything stored in it. This plan does not provide a load rating or a universal fastener schedule.
How to build the wall-mounted tool cabinet
1. Mark and cut the plywood parts
Measure the plywood thickness and note it on the cut list. Cut parts A through H to size, then mark each one with its letter and orientation. Mark the shelf position on both side panels: 12¾ inches above the inside face of the bottom panel.
Before cutting the French-cleat blank, make a short test cut in scrap. The two bevels should fit together so the cabinet half can lower onto the wall half. Set up the saw according to its manual; keep the work supported and use the recommended guards and push devices.
2. Assemble the case while it’s easy to square
Dry-fit the sides, top, and bottom. The top and bottom fit between the side panels, creating a case 24 inches wide and 30 inches high.
Use a joinery method suited to ¾-inch plywood. For pocket holes, set the jig to the plywood’s measured thickness and use the screw type specified by the jig maker. Apply glue to the mating surfaces, clamp the parts, and check the case for square before tightening the joints.
Don’t force a stubborn part into place. Correct a small alignment error now, while the case is open and the glue is fresh, instead of trying to persuade the door to hide it later.
3. Add the upper mounting rail
Glue the two D pieces face-to-face and clamp them flat while the glue cures. Fit the laminated rail between the side panels near the top, with its broad face against the inside of the back-panel location.
The rail gives the cabinet-side cleat a substantial wood surface behind it. Attach the rail to the case with joinery suitable for the materials and intended connection. Predrill where needed to reduce splitting, and check that no screw tip will emerge through a visible surface.
4. Support the fixed shelf
Mark the shelf height on both sides of the case. With the cabinet resting on its bottom, the top edge of each shelf cleat should meet the line 12¾ inches above the inside face of the bottom.
Place one H cleat on each side, running from near the front toward the back. Keep them level with each other. Attach them with glue and screws that pass through the case sides into the cleats without breaking through the interior faces.
Set the shelf on the cleats with its front edge flush with the case front. Check that it’s level and square to both sides, then fasten it down through the shelf into the cleats.
5. Attach the back and keep the case square
Lay the cabinet face-down on a clean, flat surface. Check the case for square once more, then align the 24 × 30-inch back panel with the case’s top, bottom, and sides.
Fasten the back around the perimeter using an appropriate screw pattern and pilot holes. Avoid overdriving the screws; they can damage the plywood or pull the panel out of place. The back helps keep the case square, but it is not a substitute for a correctly designed wall attachment.
6. Make the French cleat
Rip the E blank lengthwise at 45 degrees to create two matching halves. Test the fit before fastening either one. One half attaches to the wall; the other attaches to the cabinet. When the cabinet is lowered into place, the bevels should interlock.
Center the cabinet half across the back over the mounting rail. Fasten it through the back panel into the rail with screws suited to the materials and rail thickness. Check that every screw engages the rail without protruding into the cabinet.
Fasten the wall half according to the wall type and the cleat or fastener manufacturer’s instructions. Don’t assume drywall alone can support the cabinet. Masonry, metal-stud construction, damaged walls, or unfamiliar framing may call for a different rated system or help from a qualified installer.
7. Hang and adjust the door
Set the door over the case with a consistent ¼-inch reveal around the outside. Use temporary spacers to hold the gap while you mark the hinges.
Install the hinges according to their instructions. Three hinges may suit this door, but follow the hinge maker’s recommendations for its size, weight, and material. Open and close the door slowly. Adjust the hinges until the door moves freely without rubbing.
Add a handle and, if you like, a catch. Check that neither strikes a nearby wall or tool when the door swings open.
Recommended reading: Woodworking Hardware Installation: The No-Guesswork Guide to Perfect Hinges, Drawer Slides, Knobs and Pulls
8. Sand the edges and apply a finish
Ease sharp edges with a sanding block and smooth the visible surfaces. Remove the sanding dust before applying a finish. Choose a product intended for the cabinet’s location, then let it cure for the time stated on the label before storing tools.
Sanding and cutting can create fine dust. Use effective dust collection and follow the guidance supplied with your equipment and finish. OSHA describes wood dust as a potential skin and respiratory hazard and outlines dust-control approaches in its woodworking guidance.
Mounting the cabinet: the wall matters as much as the wood
Before hanging the cabinet, identify the wall material and choose an attachment method for that wall and the loaded weight. Check for electrical wiring or plumbing where you plan to drill. If you cannot establish what is behind the wall, pause and get qualified help.
Make sure the wall cleat is level and installed as specified by its manufacturer. With another person helping if needed, lower the cabinet fully onto the cleat. Check that it sits flat and cannot lift off during normal use. Don’t load the cabinet until the complete support has been checked for the cabinet’s own weight and the tools you plan to store.
This reference plan does not state a maximum load. Don’t store heavy power tools or concentrated weight unless the full mounting assembly has been assessed for that use. Start with a light load, distribute tools sensibly, and recheck the cabinet and cleat after use.
Make the inside fit your tools
The fixed shelf creates two straightforward storage zones. From there, you can make small changes without altering the outside of the cabinet:
- Put short holders on the inside face of the door, leaving room for the hinges and shelves.
- Use small bins for fasteners, drill bits, or marking tools.
- Add a shallow rack sized for the screwdrivers, chisels, or pliers you actually own.
- Keep frequently used tools near the opening so they don’t disappear behind other items.
- Label compartments if more than one person uses the shop.
Before attaching a door-mounted holder, close the cabinet and check for collisions. A holder can look perfectly placed with the door open and still press against the shelf or tools when you shut it.
Questions that come up before the first cut
“Are these plans really free?”
Yes. The cut list and build steps are included in this guide. The reference cabinet measures 24 × 30 × 8 inches for the case and has one fixed shelf and a single overlay door.
“Will my tools fit inside?”
Check the length and depth of each tool against the interior before cutting. The design is intended for hand tools and small workshop supplies. It has no tested weight capacity, so don’t assume it is suitable for heavy tools.
“Can I make the cabinet wider or deeper?”
You can, but revise the cut list and check the shelf, door overlay, mounting rail, French cleat, and wall support. A larger cabinet may weigh more, and its mounting requirements may change.
Recommended guide: How to Modify Woodworking Plan Dimensions Safely: What You Can Resize, What Must Stay Fixed, and How to Rebuild the Cut List
“Does this plan tell me exactly how much weight the wall can hold?”
No. The cabinet and French-cleat concept have not been independently load-tested. The wall fasteners must suit the actual wall and expected loaded weight. Follow the mounting-system maker’s instructions or ask a qualified installer to assess it.
“Could I use a different wall-mounting system?”
Yes, if the system is designed for the cabinet and wall and the cabinet has suitable backing for the connection. Follow the system maker’s instructions; don’t assume the same screw or anchor works for every wall type.
“My plywood isn’t exactly ¾ inch. What should I change?”
Measure it before you cut. Adjust the pocket-hole jig and screw choice to the actual thickness. The top, bottom, and shelf dimensions assume a 24-inch outside width, so recalculate mating parts if you change the panel thickness.
Products / Tools / Resources
Choose materials and hardware to suit the cabinet and the room where it will hang:
- ¾-inch plywood: for the case, fixed shelf, door, rail, and French-cleat blank in this reference plan.
- ½-inch plywood: for the cabinet back.
- Cabinet hinges and a pull: choose hinges that match the door’s thickness, size, weight, and overlay.
- French cleat or rated cabinet-mounting hardware: follow the manufacturer’s instructions and choose a system appropriate for the wall and expected loaded weight.
- Saw, drill, clamps, square, and sander: use tools you already handle safely; follow each tool’s manual.
- Safety references: OSHA table-saw guidance and OSHA woodworking dust guidance.